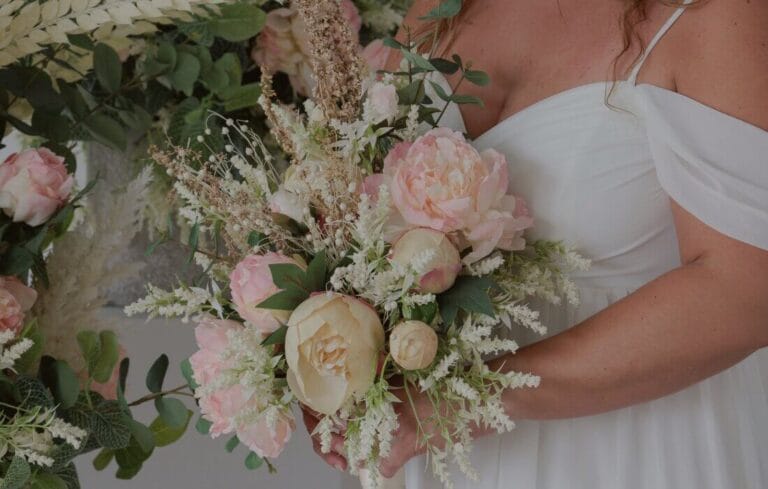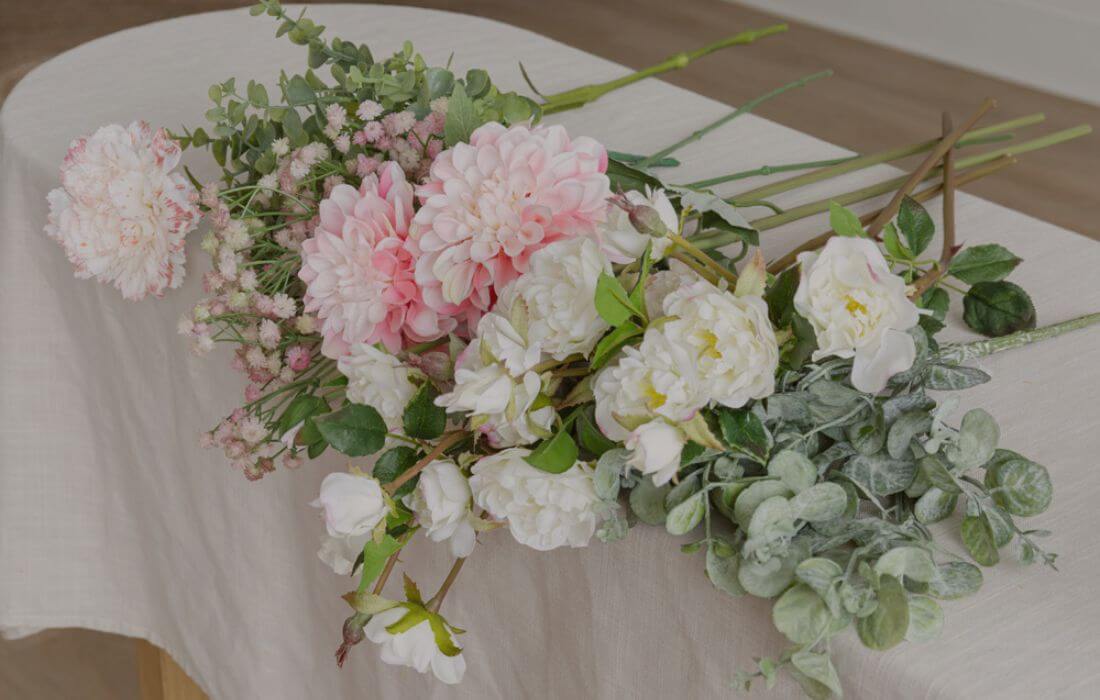
Creating a florist-worthy flower bouquet isn’t just for experts: with a bit of method, organization, and the right choice of floral stems, you can design professional-looking arrangements right at home.
In this step-by-step guide, we walk you through every stage, from selecting the flowers to the final assembly. Whether it’s for a gift, to decorate your home, or simply to treat yourself, follow our tips and tricks to master the art of bouquet-making like a pro.
List of materials :
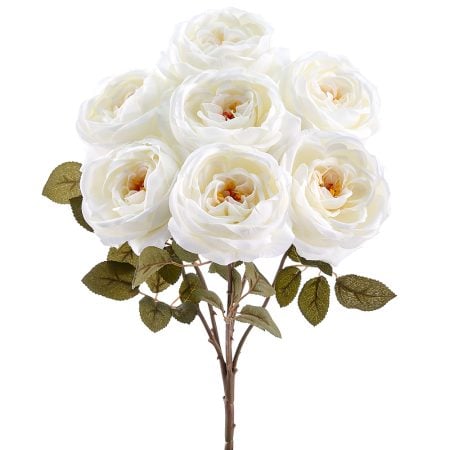
- Artificial cream rose bouquet x 2
- Artificial eucalyptus bouquet x 1
- Artificial pink baby’s breath flower stem x 2
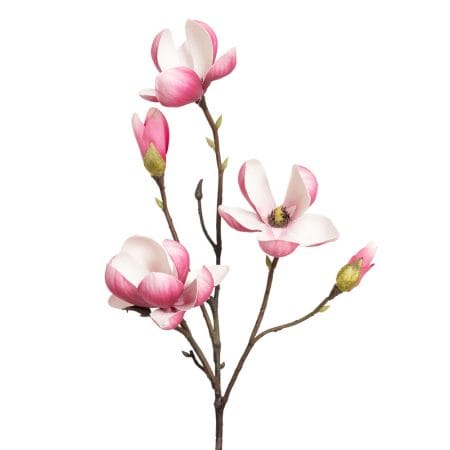
- Artificial pink and cream dahlia flower stem x 2
- Artificial small eucaluptus bouquet x 1
- Artificial pink carnation flower stem x 1
- Glass vase x 1
- Decorative white pebbles
- Plastic ties
- Decorative leaf
- Floral shears
Step 1 – Foliage: Building the Base of Your Bouquet
Every classic floral arrangement includes foliage to add volume, depth, and a natural structure to the bouquet. It acts as the visual base, highlighting and supporting the main flowers.
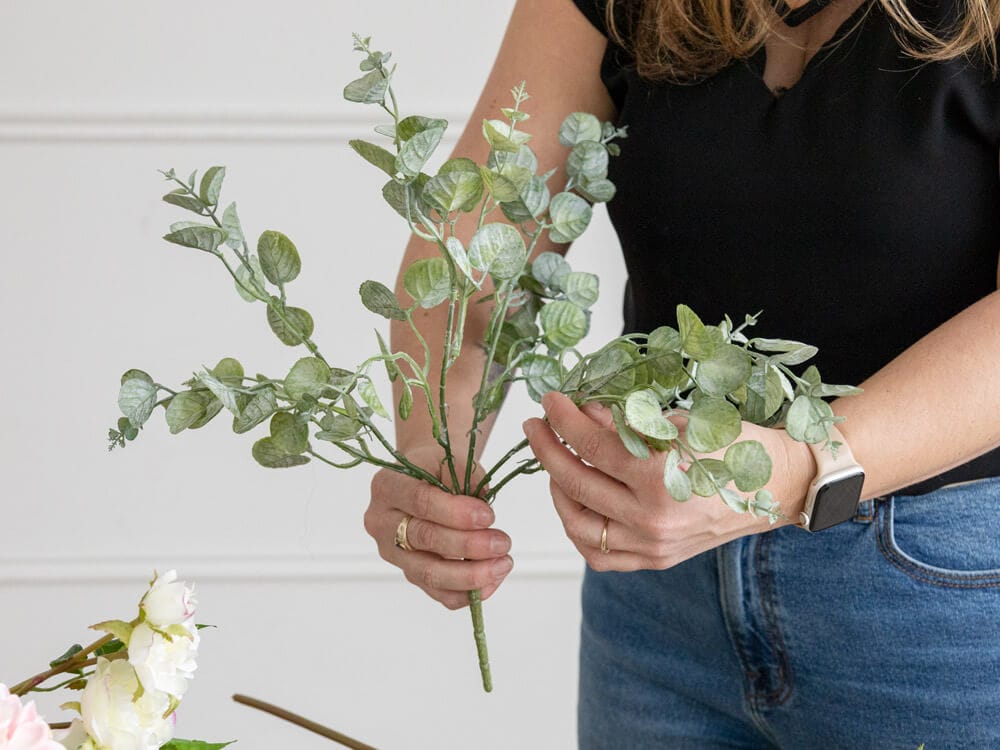
Some of the most popular foliage florists use include eucalyptus, which adds soft movement; fern, for a light, airy feel; ruscus, for elegance; and pittosporum, for its dense, bright leaves.
What foliage does :
- Create the overall shape of the bouquet
- Give a professional look
- Support the flower stems
- Add texture and contrast
Step 2 – Main Flower Stems: Starting the Spiral Technique
Arrange the main flower stems—here, cream roses. These are the line flowers that will give structure to your bouquet. Hold each stem at an angle in your hand and gently cross them to start forming a spiral. This rotation of the stems around a central axis is known as the spiral technique in florist terminology.

The spiral technique helps create a balanced and harmonious bouquet that keeps its shape once tied or placed in a vase. Make sure to distribute the stems evenly, adjusting their positions slightly as needed.

If you’re a beginner, it’s easier to master the technique by using just one type of flower (cream roses) for the main stems. Here, however, we’ve chosen to use two types of flowers for the main stems: cream roses and pink baby’s breath.
Florist tip: hold the base of the bouquet between your thumb and forefinger of your main hand, and add the stems with your other hand. Gently rotate the bouquet with each addition to maintain the spiral and make it easier to add the secondary flowers.
Step 3 – Background Foliage: Adding Greenery to the Base of the Bouquet
Once the main flower stems are in place, you can now add background foliage at the base of the bouquet. This greenery helps complete the structure, soften the edges, and fill any empty spaces.

To follow the spiral technique, place each foliage stem at an angle, rotating it around the existing spiral without crushing the main stems. Make sure to distribute the greenery evenly so the bouquet maintains its height, volume, and balance.
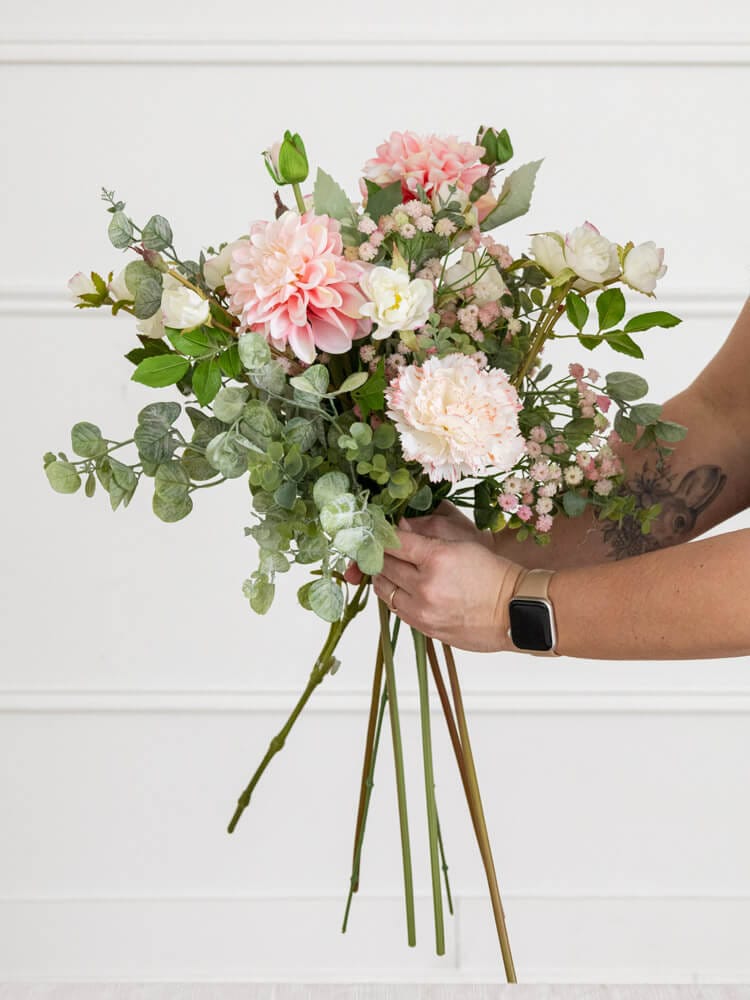
Step 4 – Filler Flowers: Draw the Eye and Complete the Bouquet
Once the main stems and background foliage are in place, it’s time to add the filler flowers. These secondary blooms, often slightly larger or more colorful, help complete the bouquet, create contrast, and draw the eye.

Florists often choose peonies, dahlias, carnations, lilacs, lilies, and hydrangeas, as they naturally take up space in an arrangement. These bigger flowers act as focal points, drawing the eye while creating a harmonious bouquet.
To incorporate them into your arrangement :
- Place them between the main stems, following the spiral.
- Alternate the heights and positions to create movement and depth.
- Make sure to give the main flowers some breathing space—they should remain visible while being harmoniously surrounded.
Step 5 – Finishing Touches: The Details That Make All the Difference
Once all your flowers and foliage are in place, it’s important to secure the base of the bouquet so it holds its shape. Florists often use a plastic tie, floral wire, or string to keep the stems together.
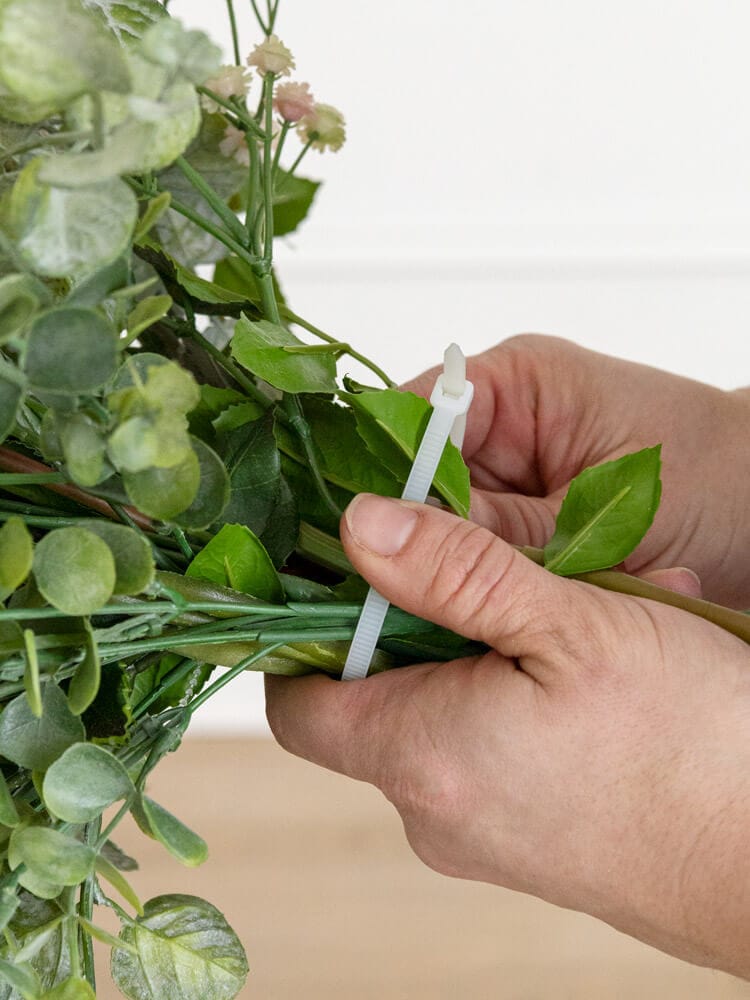
Start by gathering the stems tightly at the base, then wrap the tie around them to secure everything firmly. This step ensures your bouquet stays stable and makes it easier to handle—whether you’re gifting it, transporting it, or placing it in a vase.
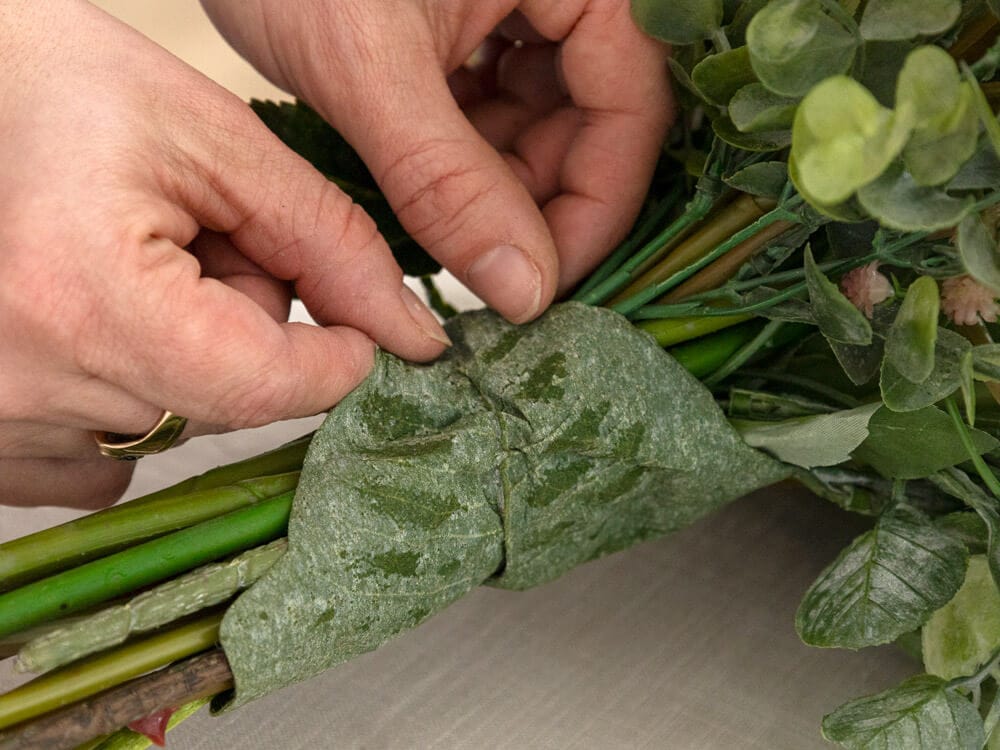
For a professional finish, trim any excess from the tie and then wrap a pretty leaf or a piece of ribbon around it to hide the plastic. This final touch gives the bouquet a polished look while protecting the tie and enhancing the visual cohesion of the arrangement.
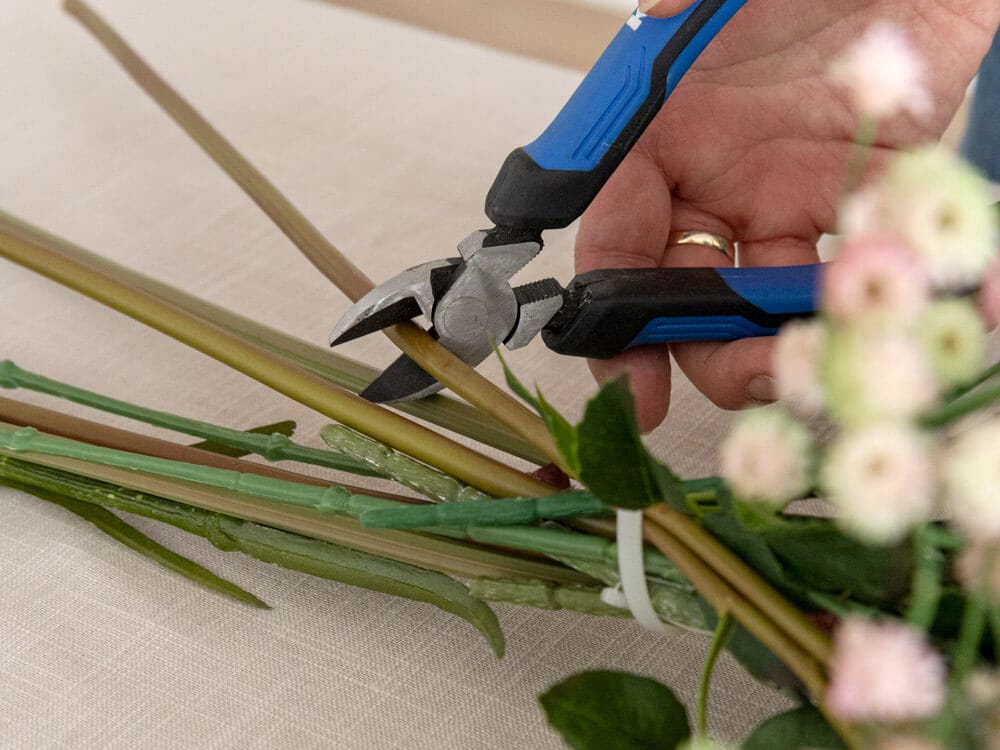
Depending on the height of your vase, you can adjust the stems so the bouquet fits perfectly. Trim them evenly or slightly at an angle to ensure the flowers sit well. This step helps balance the bouquet visually in its container and prevents any stems from sticking out or being too short, ensuring a professional presentation.
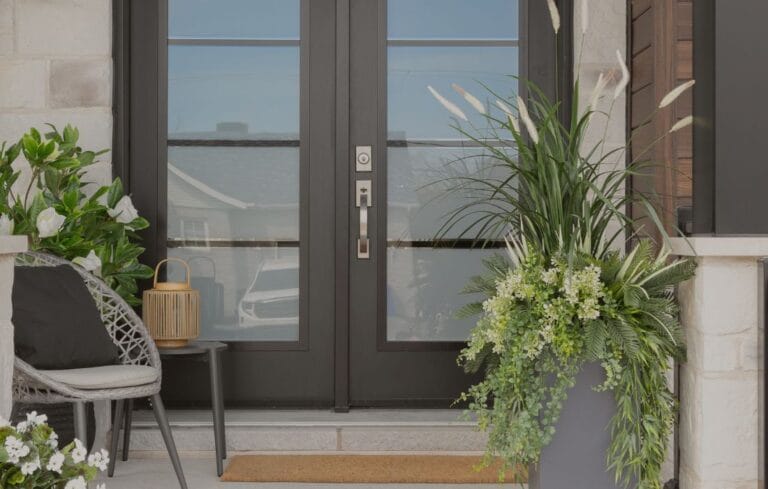
Step 6 – Choosing the Vase: Styling Your Bouquet
The flower vase isn’t just a container—it complements and highlights your bouquet. Depending on the style you want to achieve, choose a tall or short vase, clear or colored, modern or classic. A clear glass vase showcases the stems and gives a light, airy look, while an opaque or textured vase adds character and can enhance the overall style of your decor.

Before placing your bouquet, you can add decorative florist elements to the vase, such as stones, glass beads, or decorative sand. This not only stabilizes the stems but also adds an extra aesthetic touch, turning your bouquet into a true decorative centerpiece.